

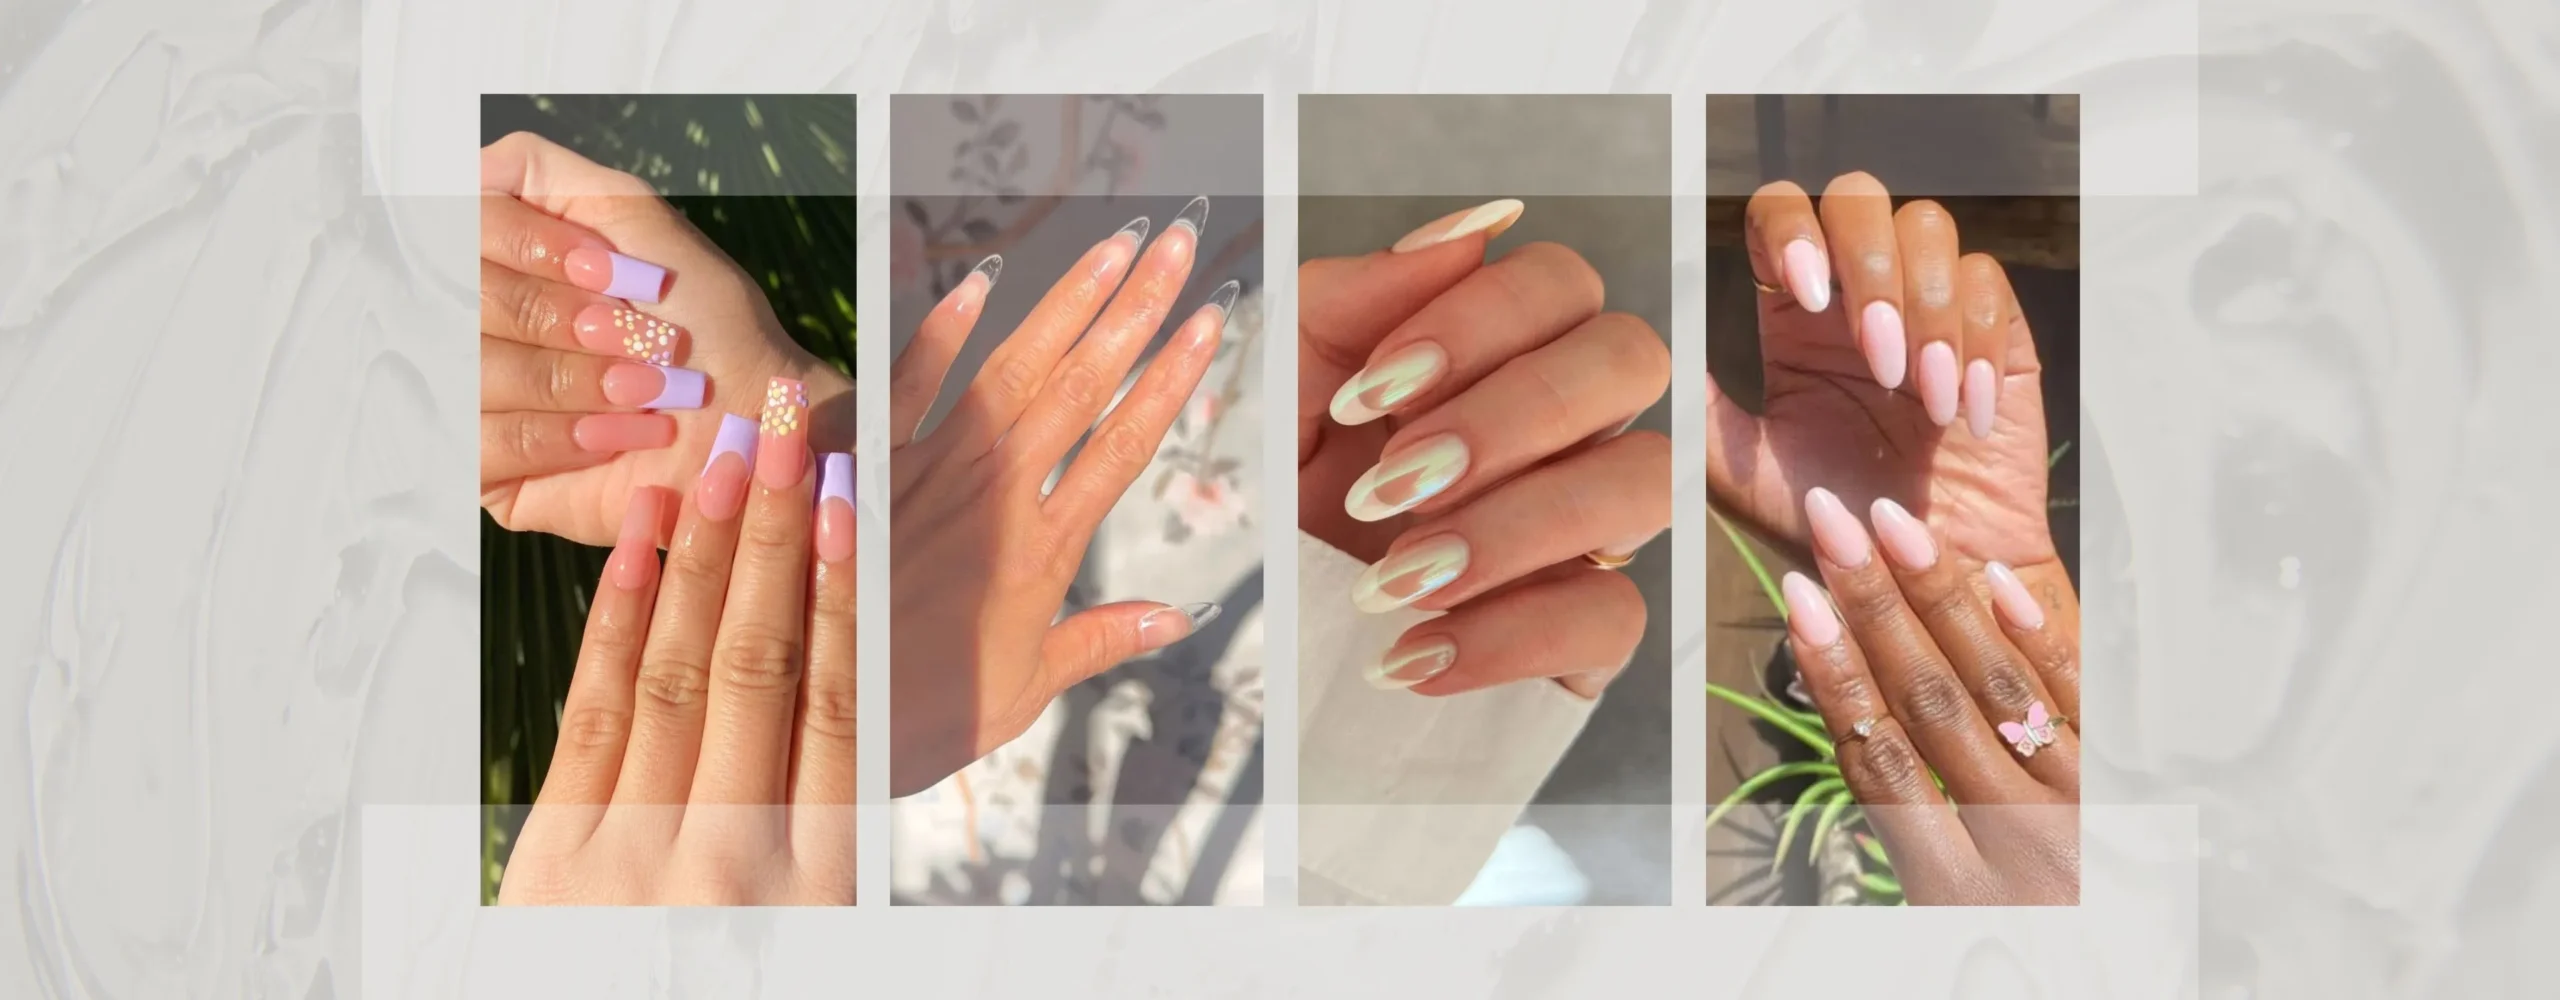
If you’ve been scrolling through countless nail trends online, chances are you’ve stumbled upon the latest craze: Gel-X nails. Taking the beauty world by storm, these innovative extensions surpass traditional acrylics and gels, offering a whole new level of nail artistry.
No matter whether you’re captivated by their bold nail shapes or simply curious about the latest buzz, we’ve got you covered. Here, you can find everything you need to know, from application and safety to a simple, step-by-step removal process.
What Are Gel-X Nails?
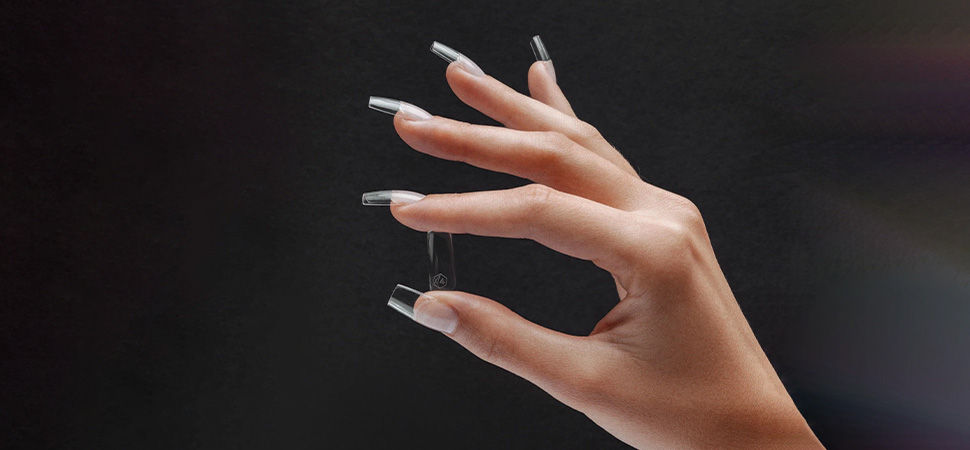
Gel-X is a type of nail extension that combines the best features of gel and acrylic nails. Unlike traditional nail extensions that require tips or forms, these nails use a full-coverage soft gel extension that extends from the cuticle to the edge. These pre-shaped tips come in various sizes and shapes, making achieving a natural and uniform look easier.
How Are Gel-X Nails Applied?

The application process for Gel-X nails differs from traditional gel or acrylic nails in several key ways. Find a step-by-step breakdown on how to apply Gel-X nails:
- Prep the Natural Nails: Clean, file, and buff the natural nails to remove oils and create a rough surface for better adhesion.
- Apply a pH Bond and Primer: These products help the gel adhere to the natural nail.
- Select and Fit the Tips: Select full-coverage soft gel tips based on the size and shape of the natural nails. Then, trim them to your desired length.
- Adhere to the Nail Tips: Apply a gel adhesive layer to the natural nail and press the gel tip onto the nail. Next, cure the adhesive under a UV or LED lamp.
- Shape and Finish: File your nails and shape them as desired using a nail file, then apply a top coat for added shine and durability.
How Are Gel-X Nails Different from Acrylic and Traditional Gel Nails?
Before diving into the specifics of Gel-X nails, it’s crucial to understand how they differ from more traditional methods such as acrylic and gel nails. Here’s a quick comparison:
Acrylic Nails
Acrylic nails involve a mixture of liquid monomer and powder polymer, forming a hard protective layer over natural nails. This method has been a staple in the nail industry for decades, popular for its durability and strength. However, acrylic nails can be pretty rigid and may damage natural nails if not applied or removed correctly.
Gel Nails
Gel nails use a gel-based formula cured under a UV or LED lamp. They offer a more flexible and natural-looking finish compared to acrylics. While gel nails are less damaging than acrylics, they require careful application and removal to avoid weakening the natural nails.
Gel-X Nails
Gel X Nails combines the best of both worlds: the strength and durability of acrylics with the flexibility and natural appearance of gel nails. They use a special gel-like adhesive that bonds to the natural nails, creating a seamless and long-lasting extension. This method is less damaging, quicker, and easier to apply and remove.
How Long Do Gel-X Nails Last?

One of the most appealing aspects of Gel-X nails is their longevity, as they can last anywhere from 2 to 4 weeks when properly applied and maintained. The lifespan depends on several factors, including the quality of the products used, the technician’s skill, and how well you take care of your nails.
It is essential to follow some key tips to maximize their longevity. Avoid using your nails as tools, such as opening cans or scraping surfaces, as this can cause them to lift or break. Keeping your cuticles moisturized helps maintain the health of your natural nails and prevents lifting. Additionally, avoiding exposure to harsh chemicals like detergents or cleaning agents can prevent the gel from weakening and causing premature lifting.
Are Gel-X Nails Safe?
Safety is a common concern when it comes to nail enhancements. While these extensions are generally safe, there are a few things to remember, especially if you have sensitive skin.
Some individuals may experience a Gel-X allergy reaction to the gel products used in Gel-X nails. Symptoms can include redness, itching, and swelling around the nail area. If you notice any of these symptoms, it’s crucial to remove the Gel-X nails immediately and consult a healthcare professional.
How to Remove Gel-X Nails?
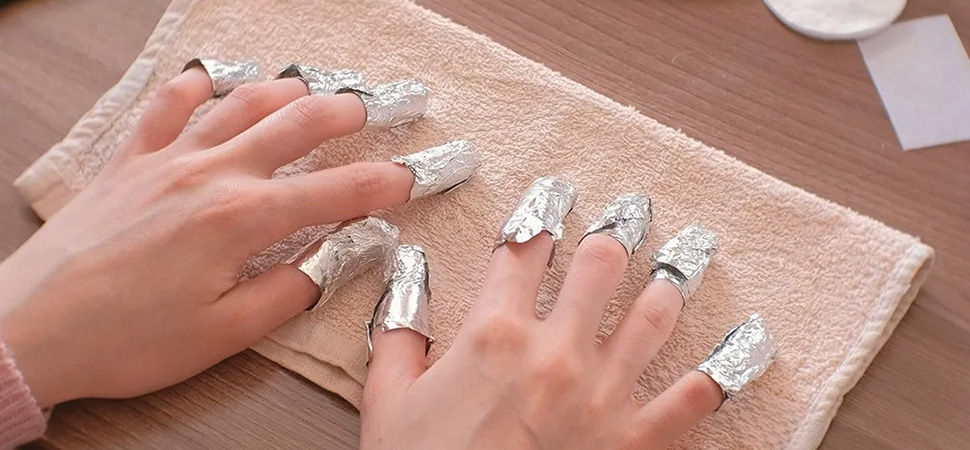
Removing Gel-X nails is not complicated and can be done at home or by a nail expert. However, it is recommended not to do it yourself at home for safety reasons. So, if your next question is How to take off Gel-X nails, you can follow these steps and remove these extensions right at home:
- Start by filing the top layer of the nails to remove the shiny top coat;
- Next, soak cotton balls in acetone, place them on your nails, and wrap each nail with aluminum foil, letting them sit for 10-15 minutes;
- Once the gel has softened, gently push off the gel with a cuticle pusher.
If you’re considering trying Gel-X nails, now is the perfect time to explore this innovative technique. Gel-X nails offer a unique, versatile, and long-lasting alternative to traditional nail enhancements. With proper application and care, they can provide beautiful, strong, natural-looking nails.
From minimalistic nail designs to bold statements, it allows for endless creativity and self-expression. However, it’s essential to consider the potential risks and take proper precautions for safe and healthy nail care. So get yourself a Gel-X nail kit, and flaunt some of the most beautiful and durable Gel-X Nail designs ever!


