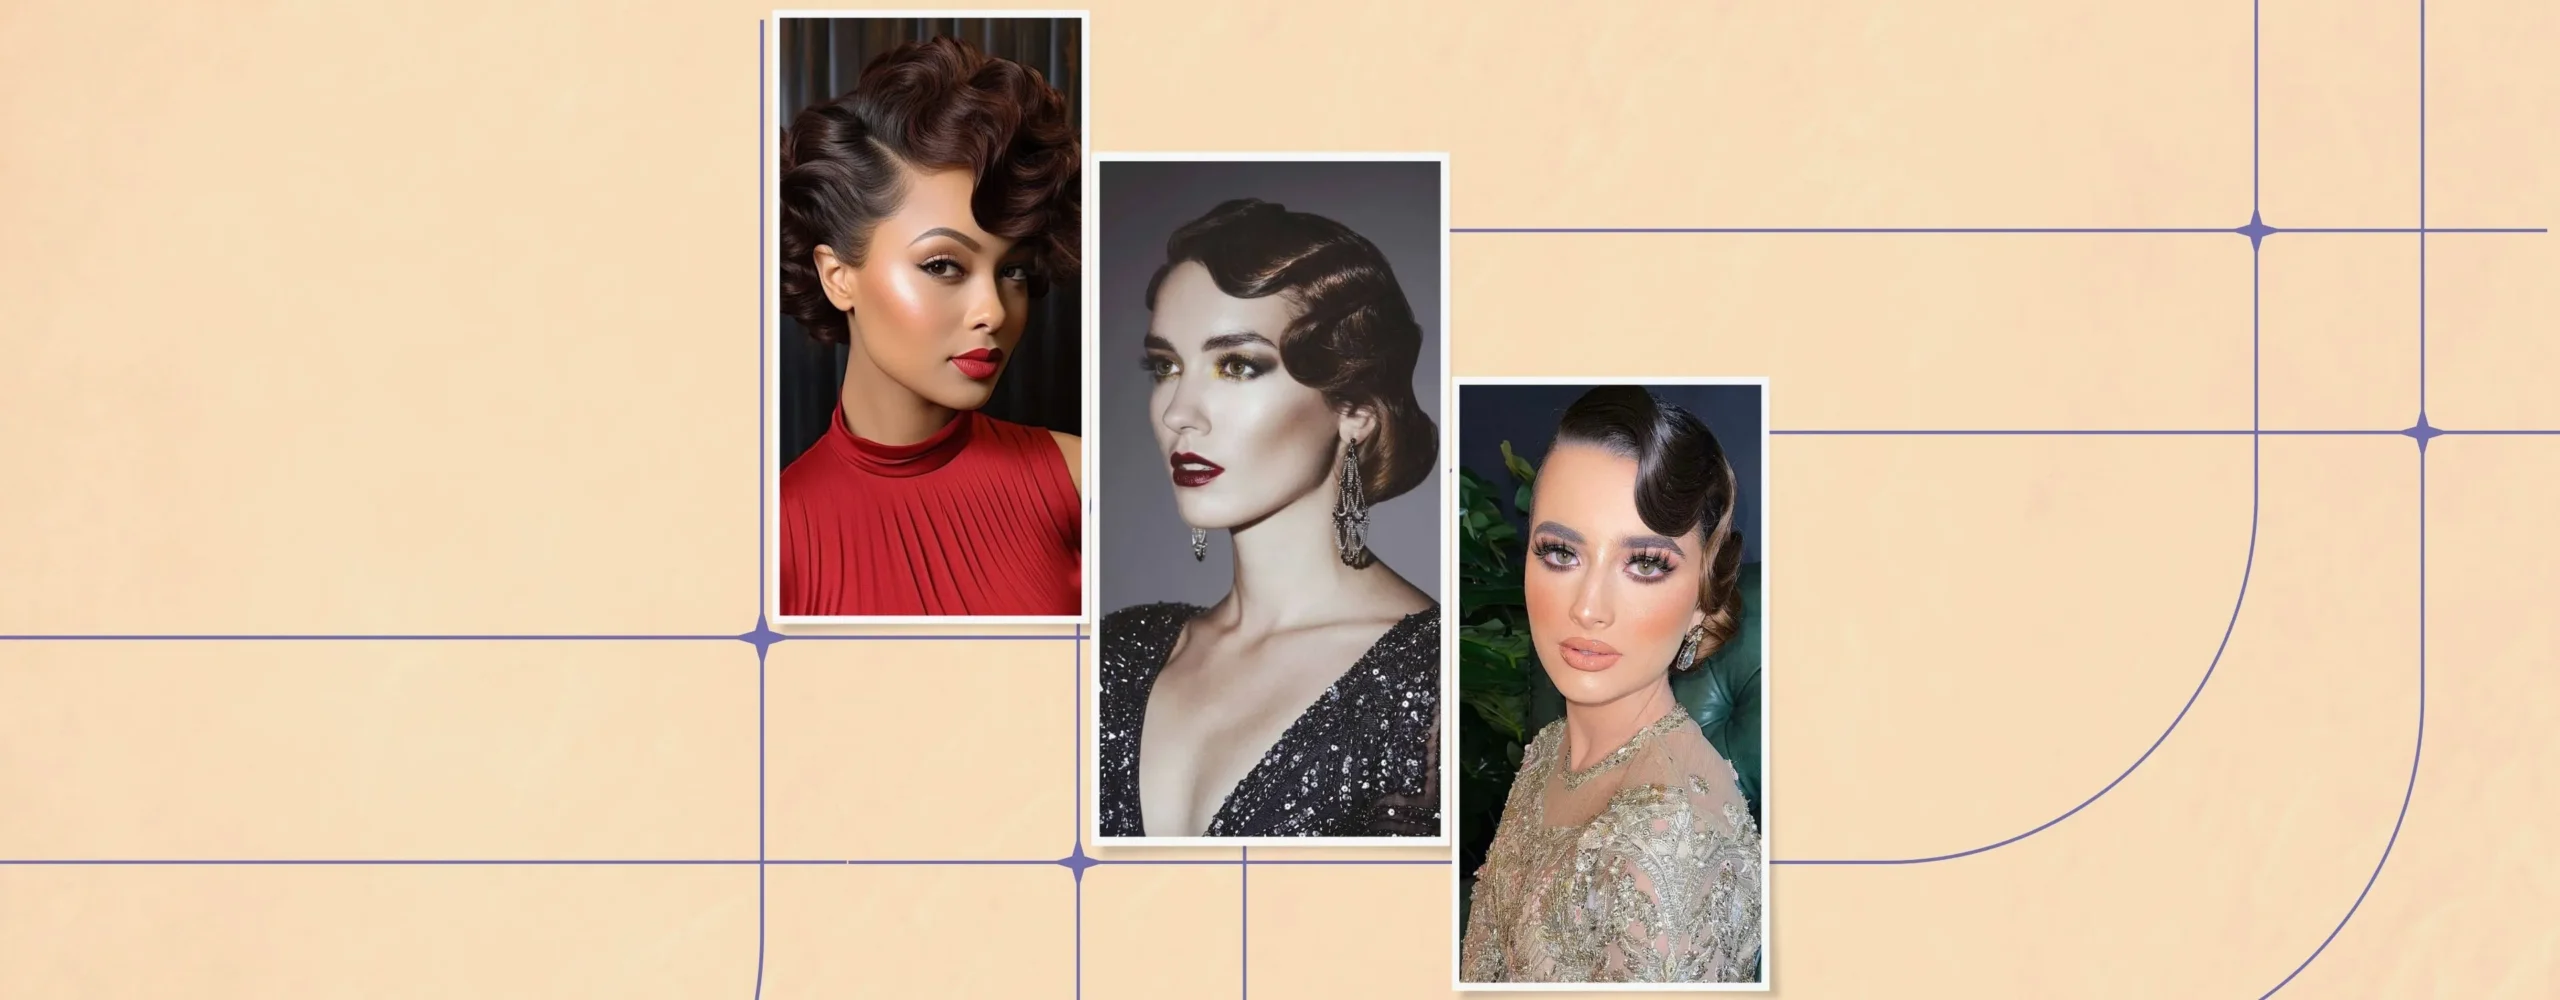
Like other 80s hairstyles, the timeless S-shaped finger waves became popular in the vibrant jazz era in the 1920s and 1930s. The women of the 1920s adorned themselves with corset-pinched waistlines and bewitching balloon skirts.
Fast-forward to today, and this retro hairstyle is experiencing a resurgence with a more refined look—evoking a feeling of grace and inspiration for the current generation. To help you recreate this iconic hairstyle, we’ve outlined all the steps to master “finger waves” with style and elegance.
What’s Finger Waves Hairstyle?
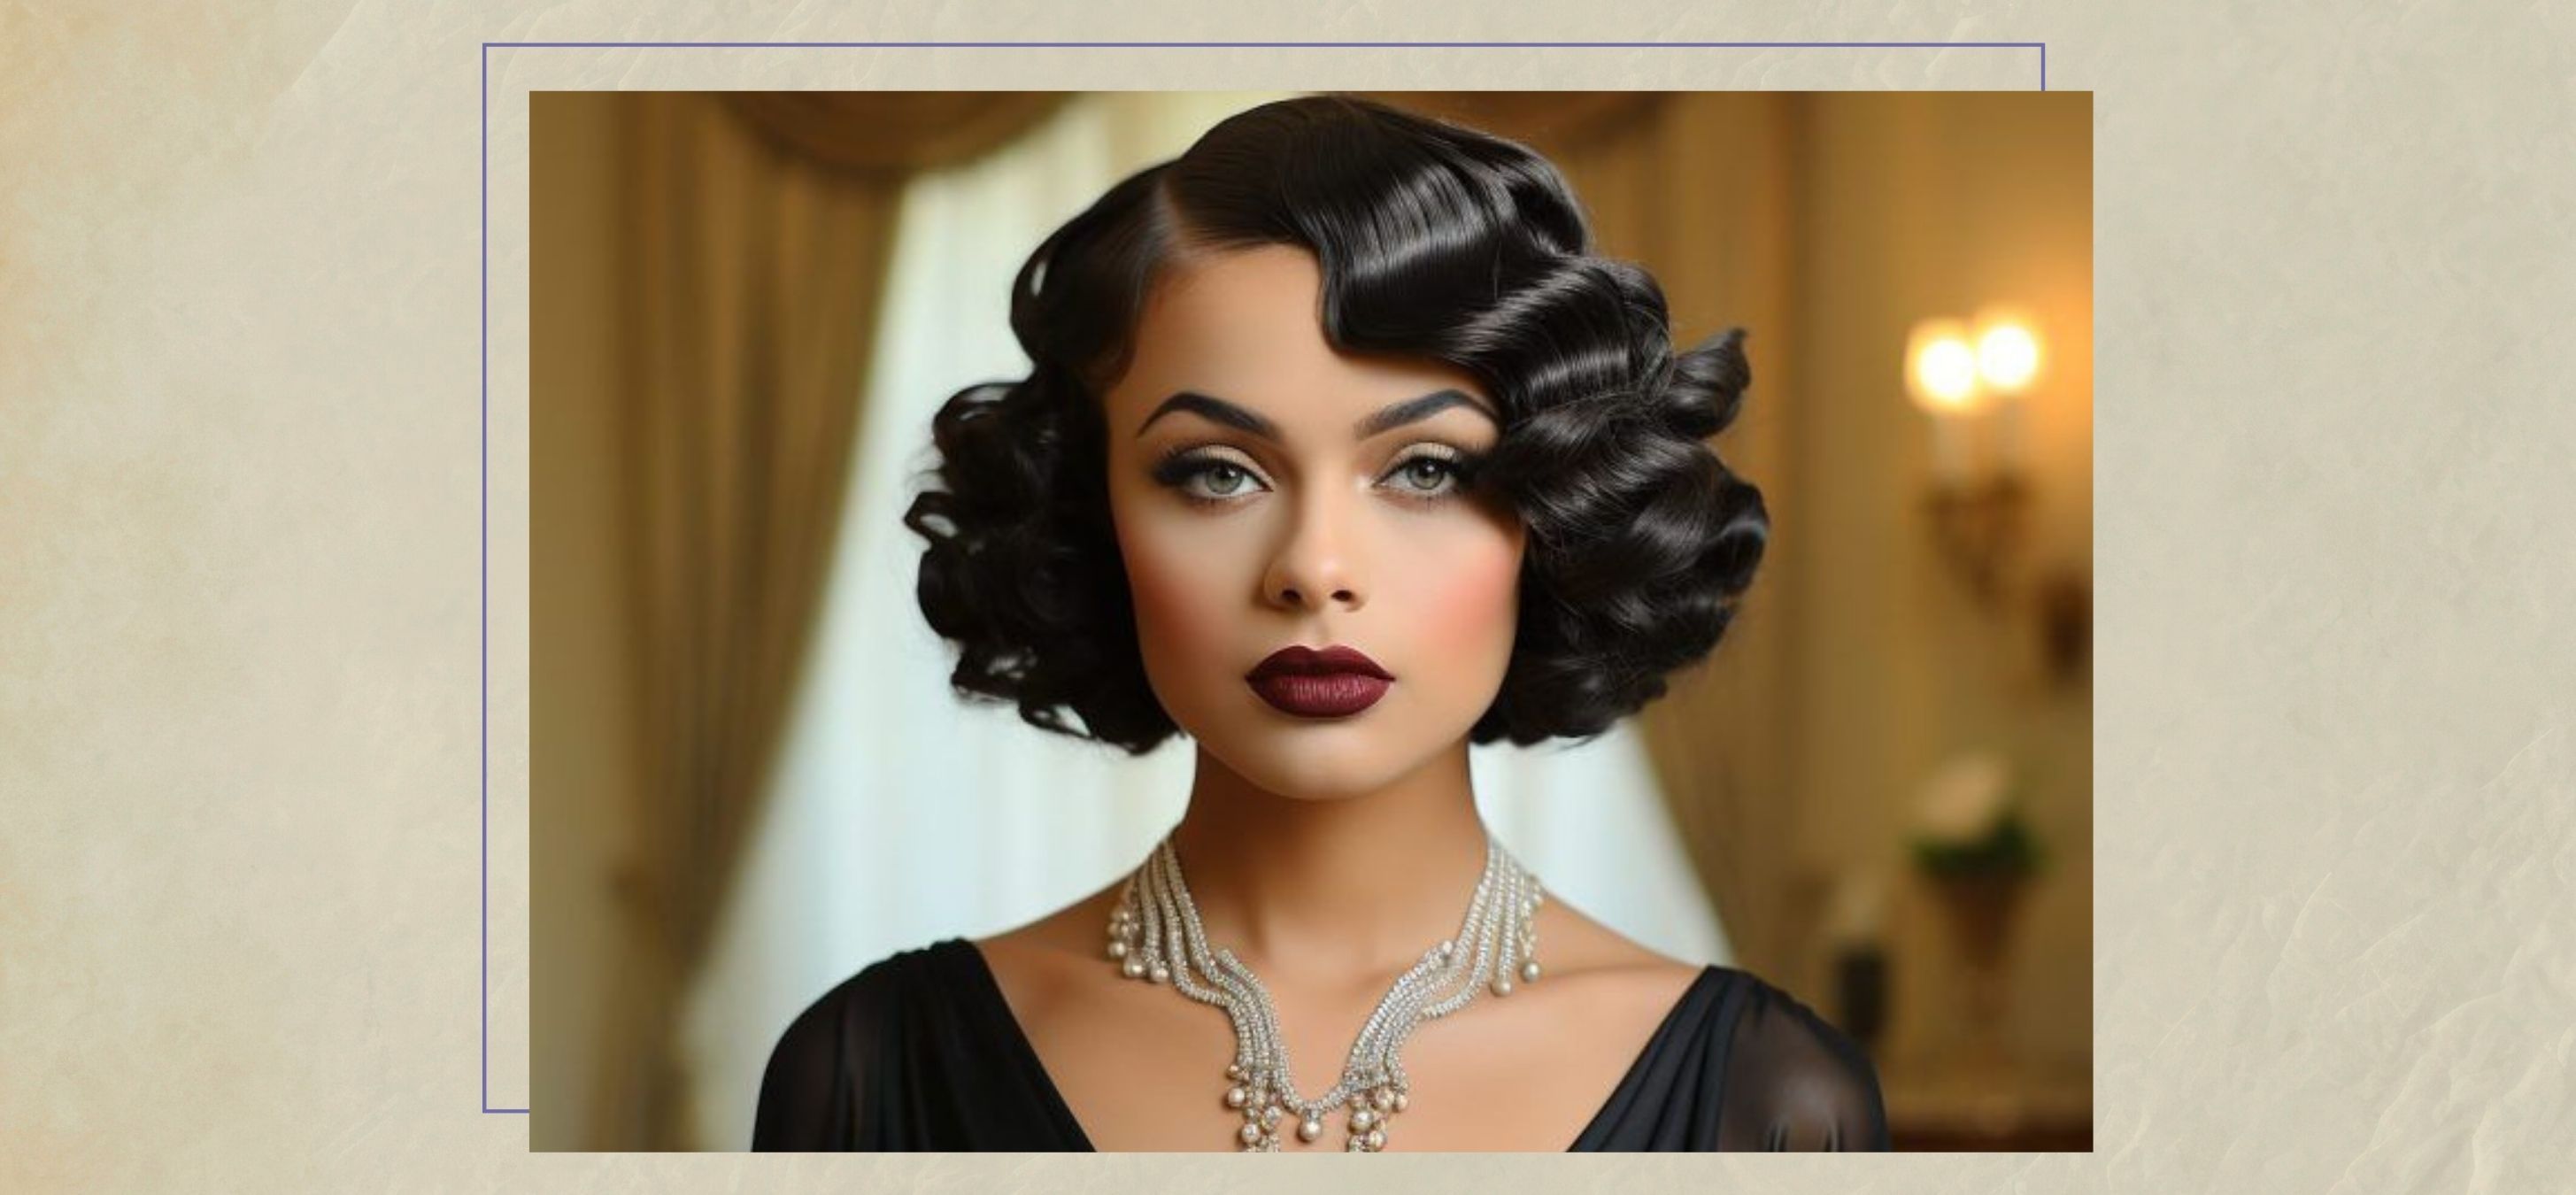
Finger waves define a smooth wave-like shape, also called S-shaped waves—attained by using hair styling tools and holding products, thus creating the shape of S-waves close to the scalp. Following the correct techniques, the finger wave hairstyle is easy to achieve on short-length hair.
However, “All that glitters is not gold.” If you are a novice at styling your hair, you need sheer patience and enough hands-on practice before achieving a glamorous look. Mastering the art of finger waves involves some essential hair products to attain heat-free curls.
What You’ll Need?
To achieve a smooth finger waves hairstyle, you’ll need the following items:
- Styling comb (cutting comb and rat tail comb)
- Duckbill clips or wave clips
- Silk scarf
- Strong hold-hair styling gel
- hairspray (optional)
- hooded dryer (optional)
- Blow dryer (optional)
1. Begin with Washed Hair
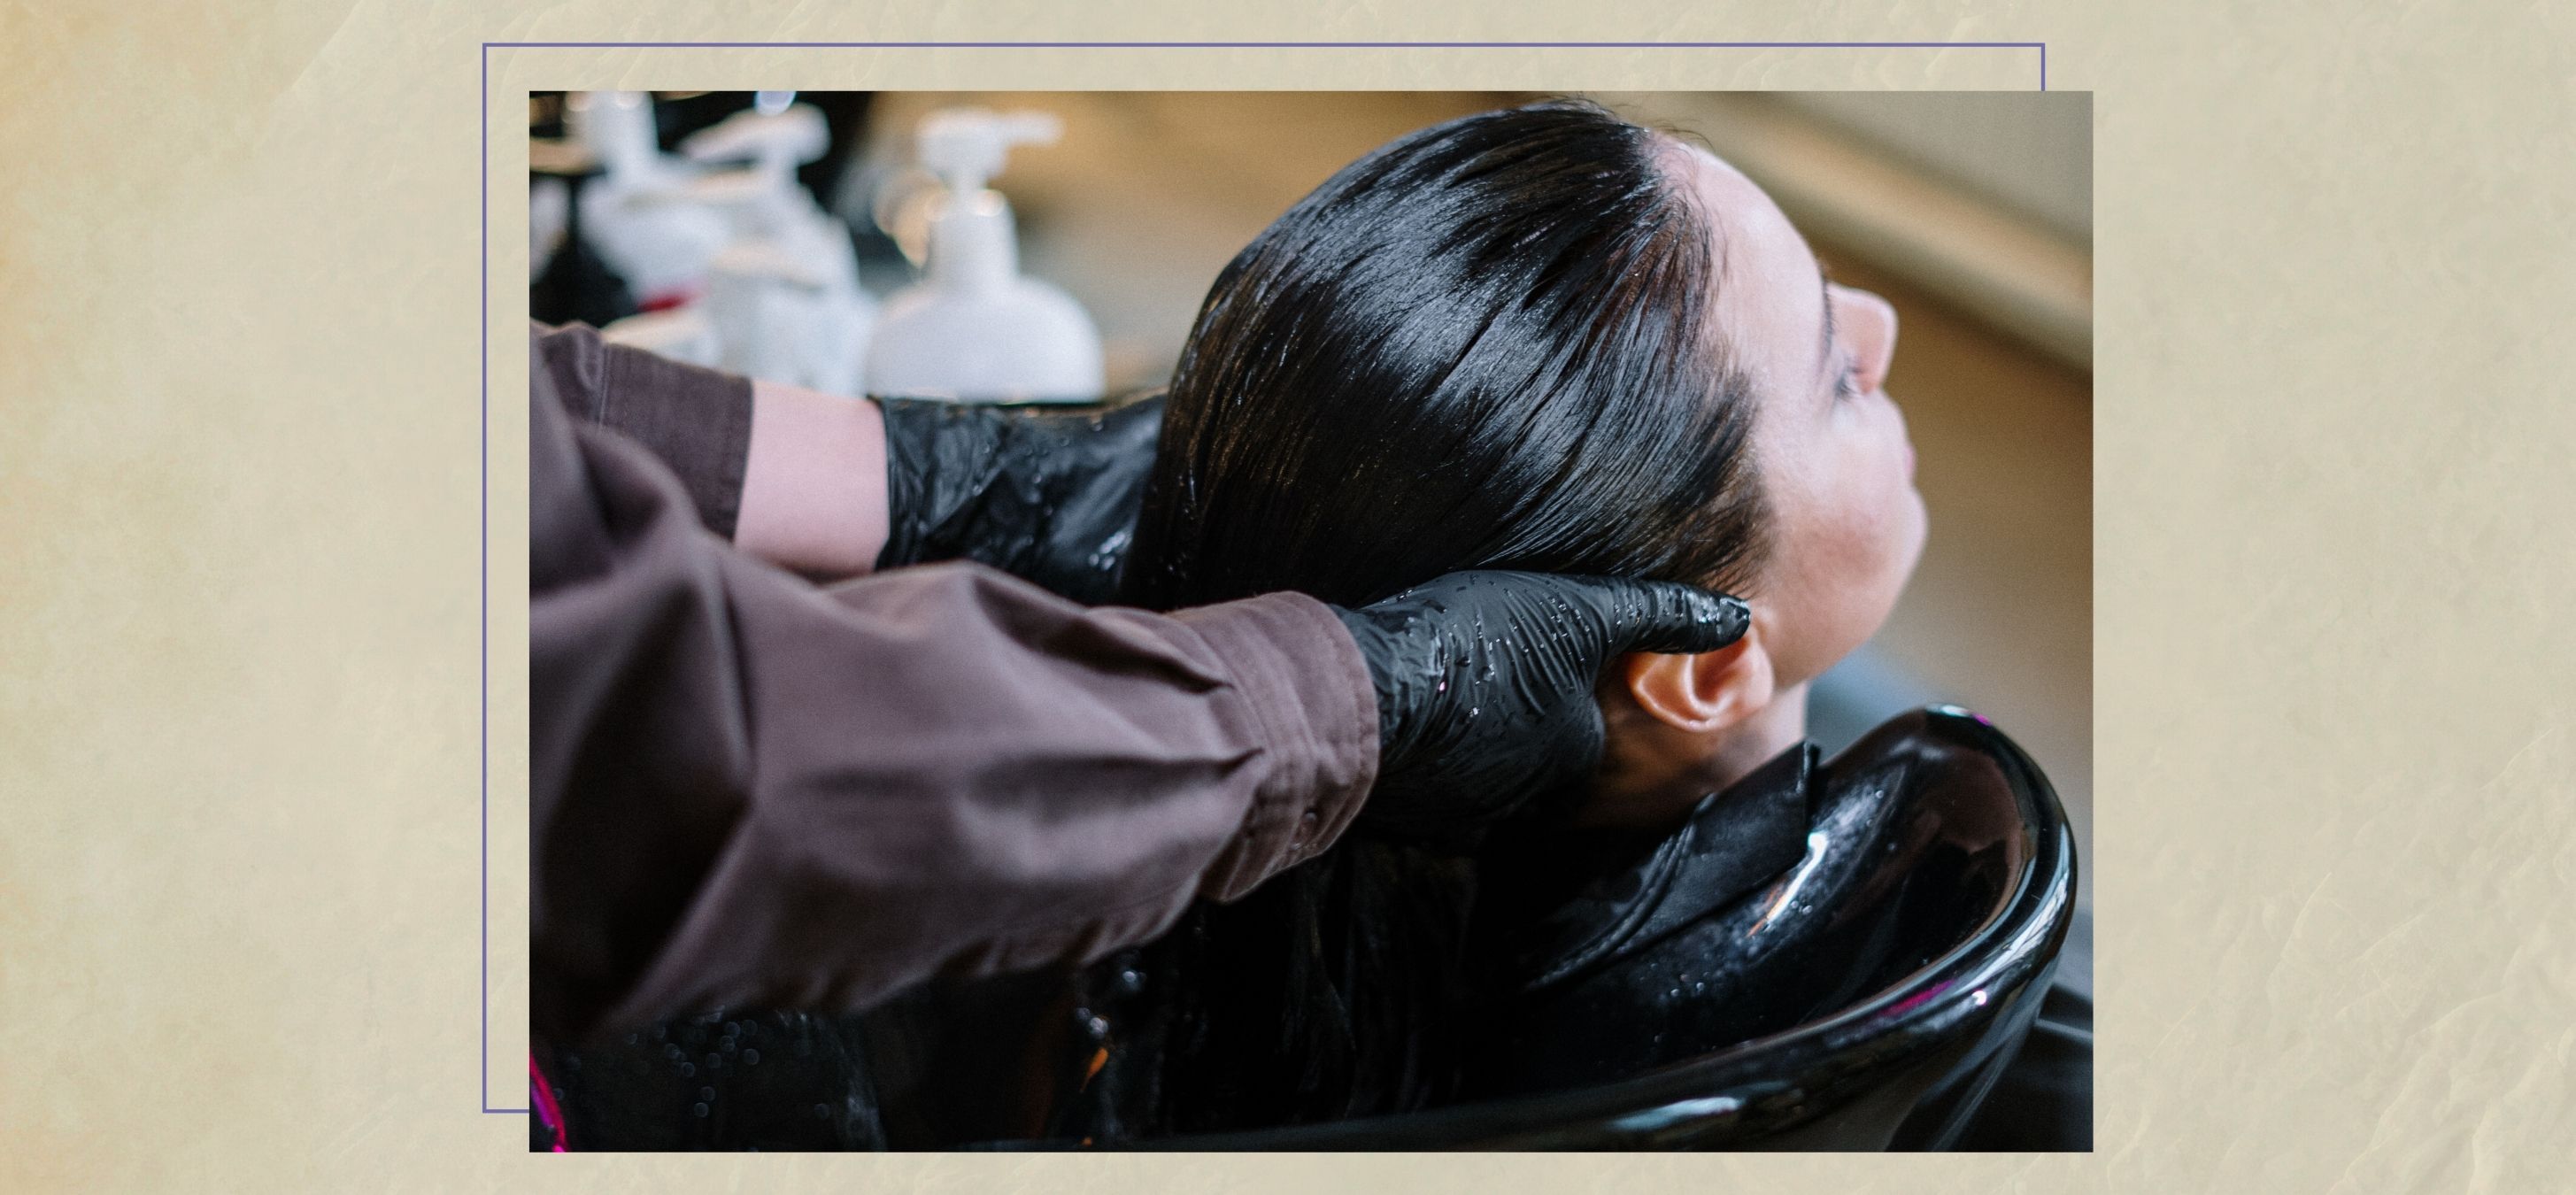
For styling hair of any length, start with clean, well-hydrated, and nourished hair. This prepares for a smooth and stylish finish after washing. Once the hair is gently cleansed and deeply conditioned, use a spray bottle to moisten it until it’s damp. This will make it easier for the hair strands to mold and achieve the desired shape for the waves.
2. Apply a Mousse or a Gel

To create an elegant S-shaped wave pattern, sculpt damp hair using a mousse or gel-based product. If you are using a mousse, ensure you cover your hair with a good blanket to avoid the formation of tangling or snagging of hair strands. If you want a structure that can offer a good, lasting hold without frizzing, consider slathering more than enough gel to sculpt waves easily.
3. Evenly Part Your Hair
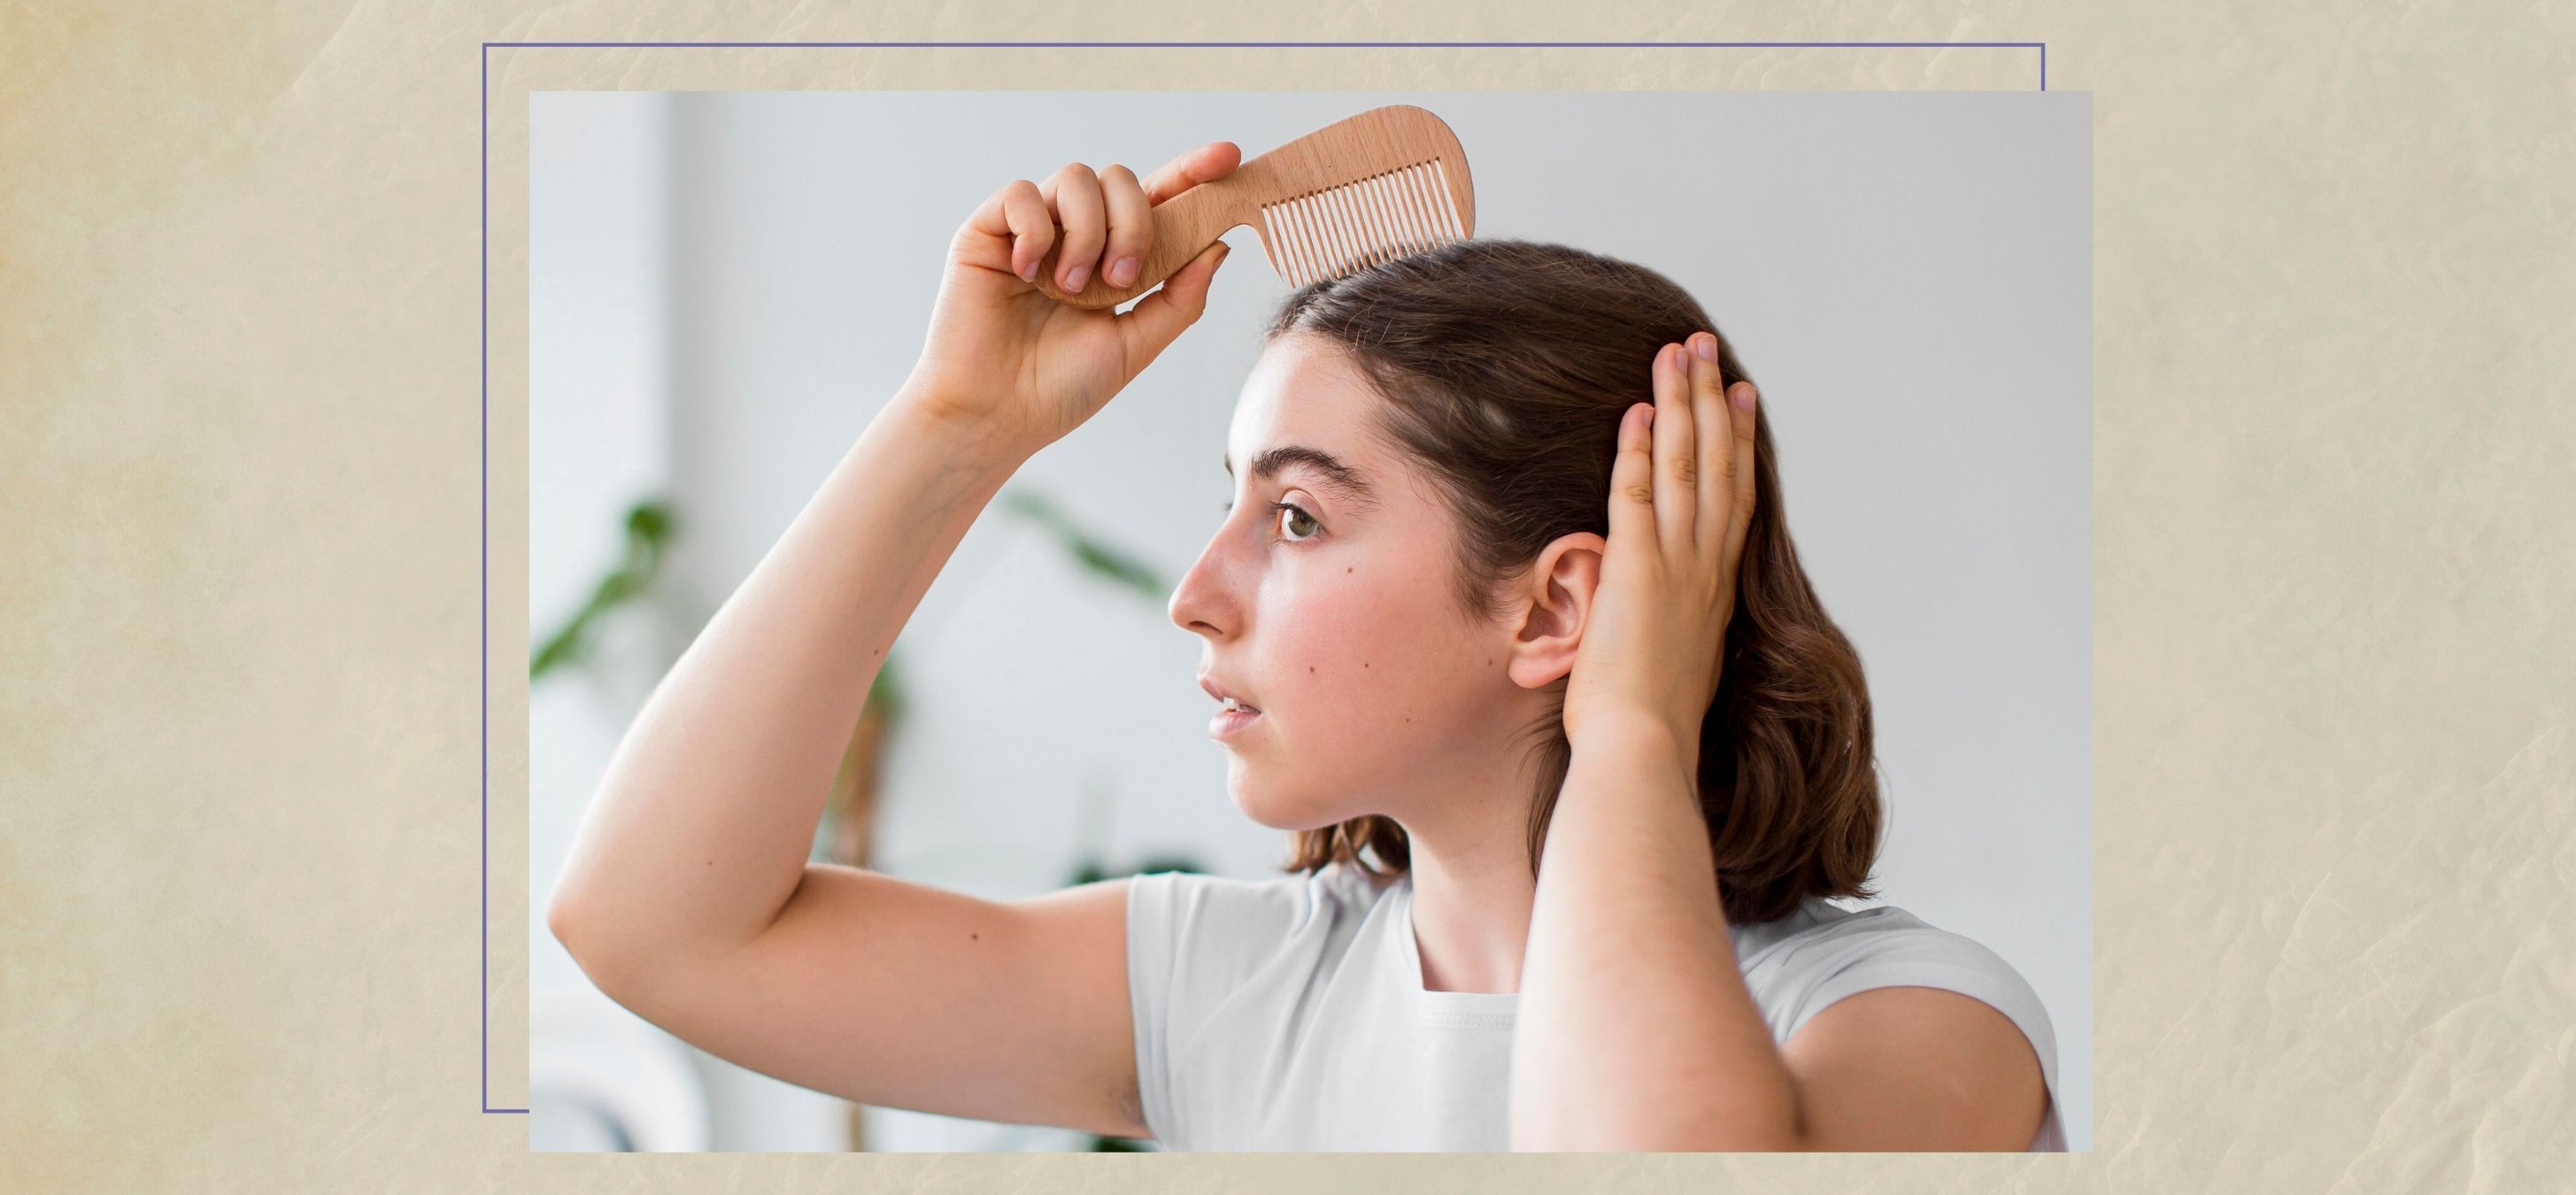
After enriching your scalp with mousse or gel, it’s time to part your hair evenly to achieve S-shaped waves. The most renowned finger wave look often has a side part. Use a fine-toothed rat tail comb to part your hair evenly. Once you’ve parted your hair, you’re all set to create finger waves.
4. Create a C-shape
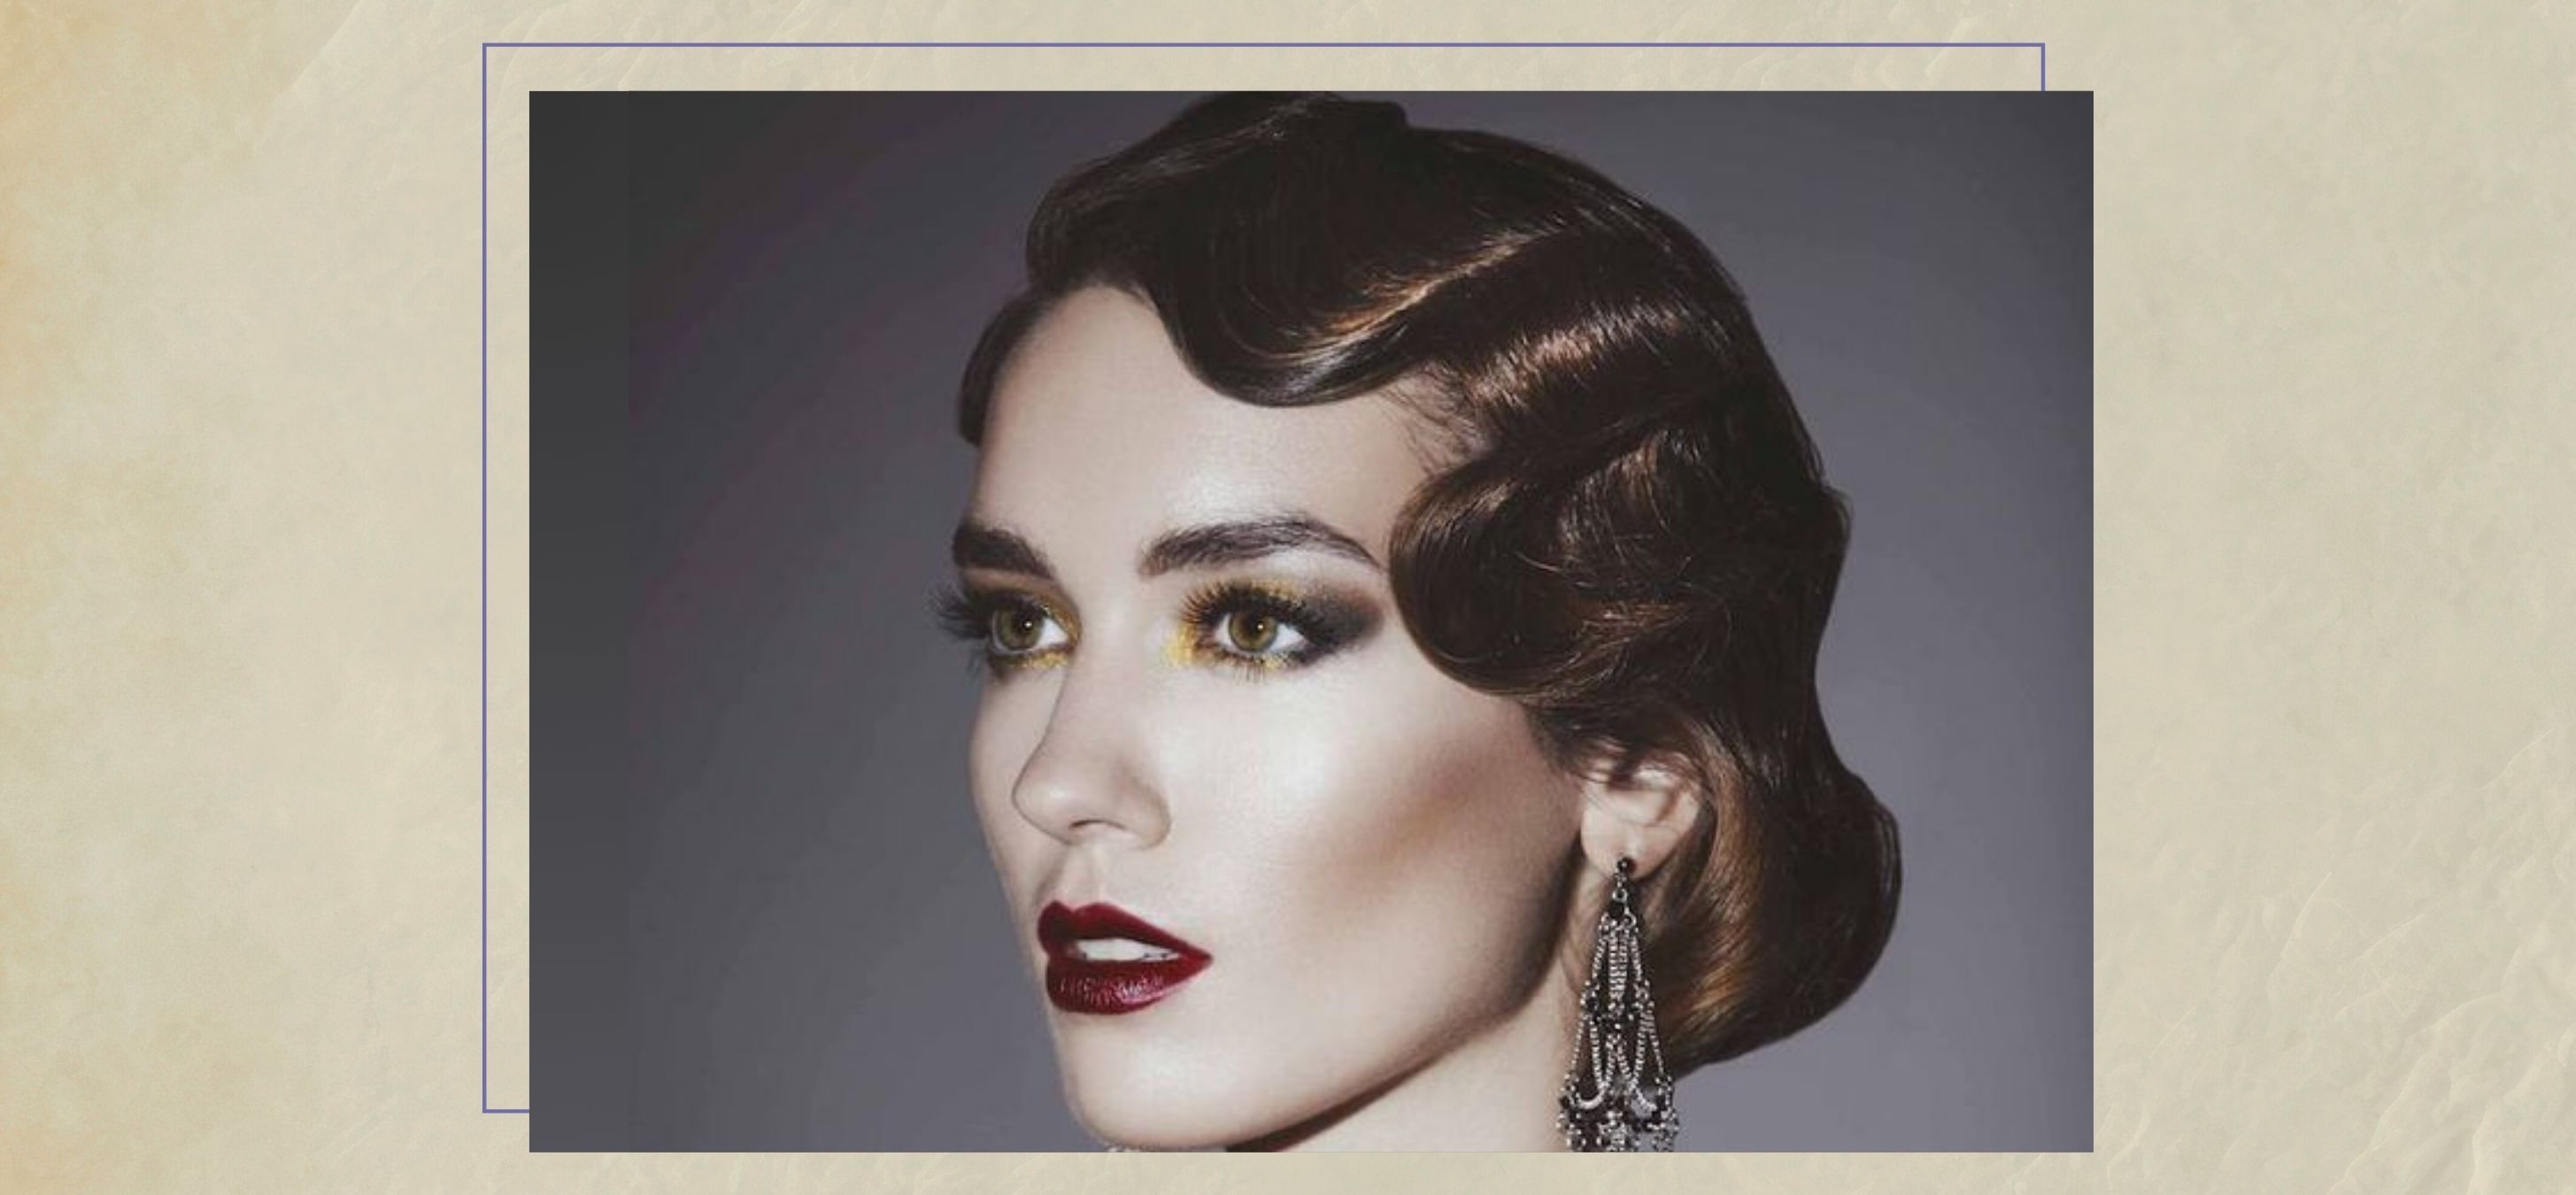
Now, it’s time for your comb to get to work and do some magic. You can use the cutting and rat tail comb to form S-shaped waves. The rat tail comb can keep the waves intact, while the cutting comb can form S-shaped waves. Place your two fingers on your hair near the part of one side. Glide the rattail comb consistently through the hair to form elegant waves or C-shaped patterns. Repeat this process as often as you require before reaching the next step.
5. Finish the S-shape
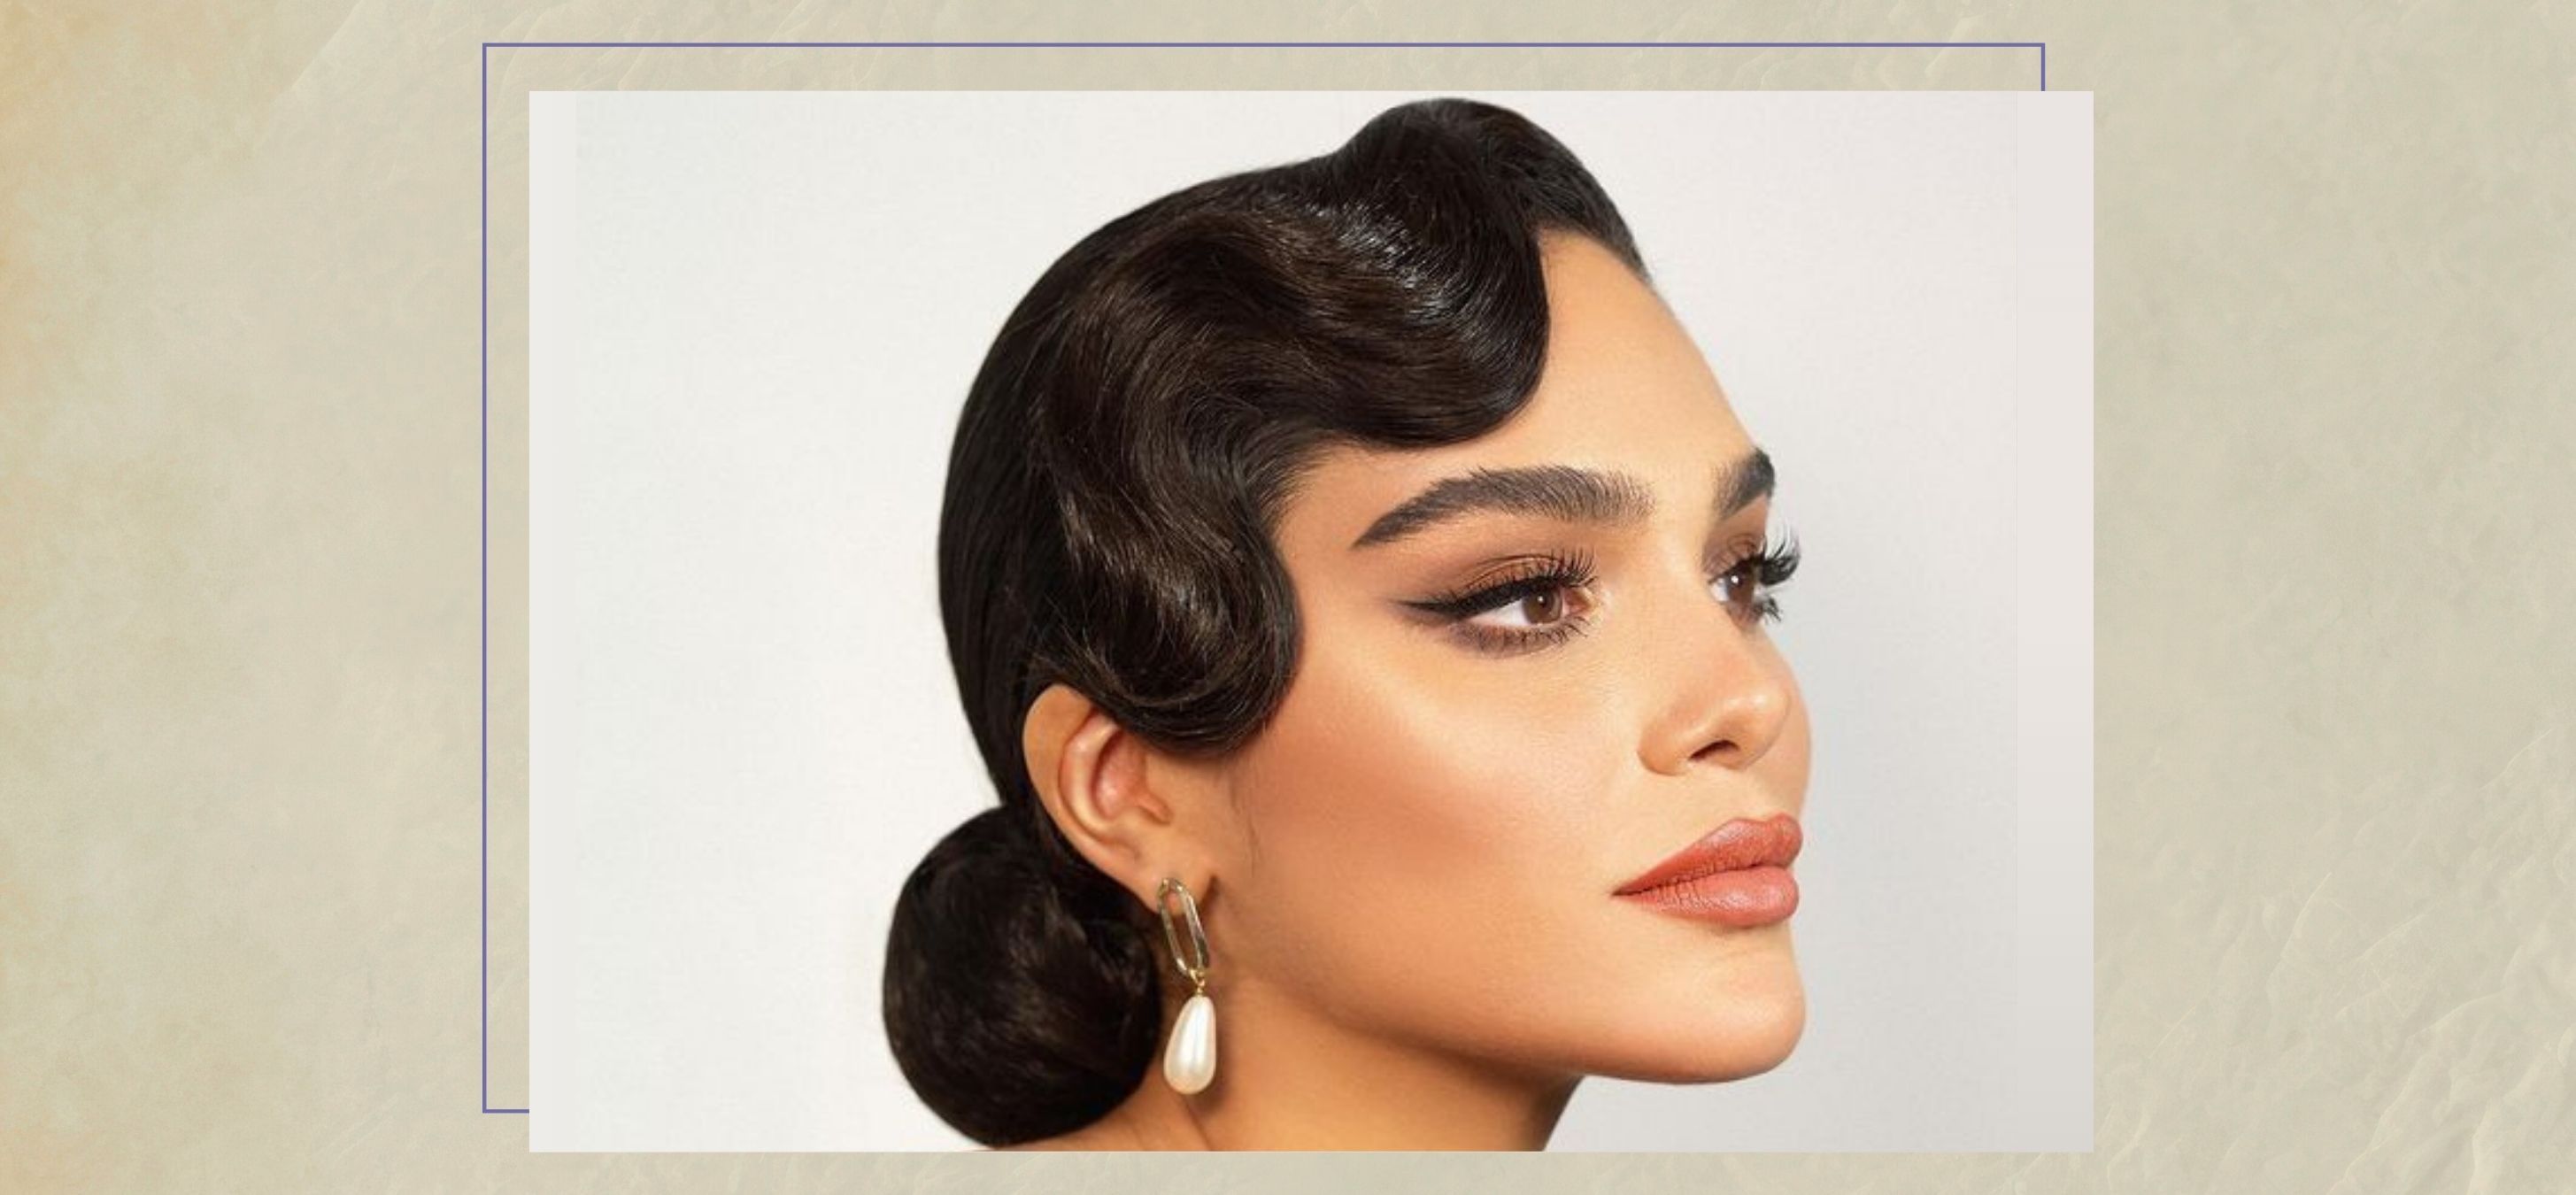
Continue following these steps by holding the already achieved C-shape in place and moving slowly with your cutting comb. In contrast, move down your hair to form a waveform in the opposite direction, which later replicates to form an S-shaped wave. Repeat these steps before transitioning to the next section of your hair.
6. Hold on to the Waves with a Duckbill Clip

After completing the finger waves on both sections of your part, secure them with a duckbill clip to ensure they are intact and in place. Place the clip diagonally across your waves, as you don’t want them to get messed up, and place it by keeping the flat side against your scalp.
7. Dry Your Hair
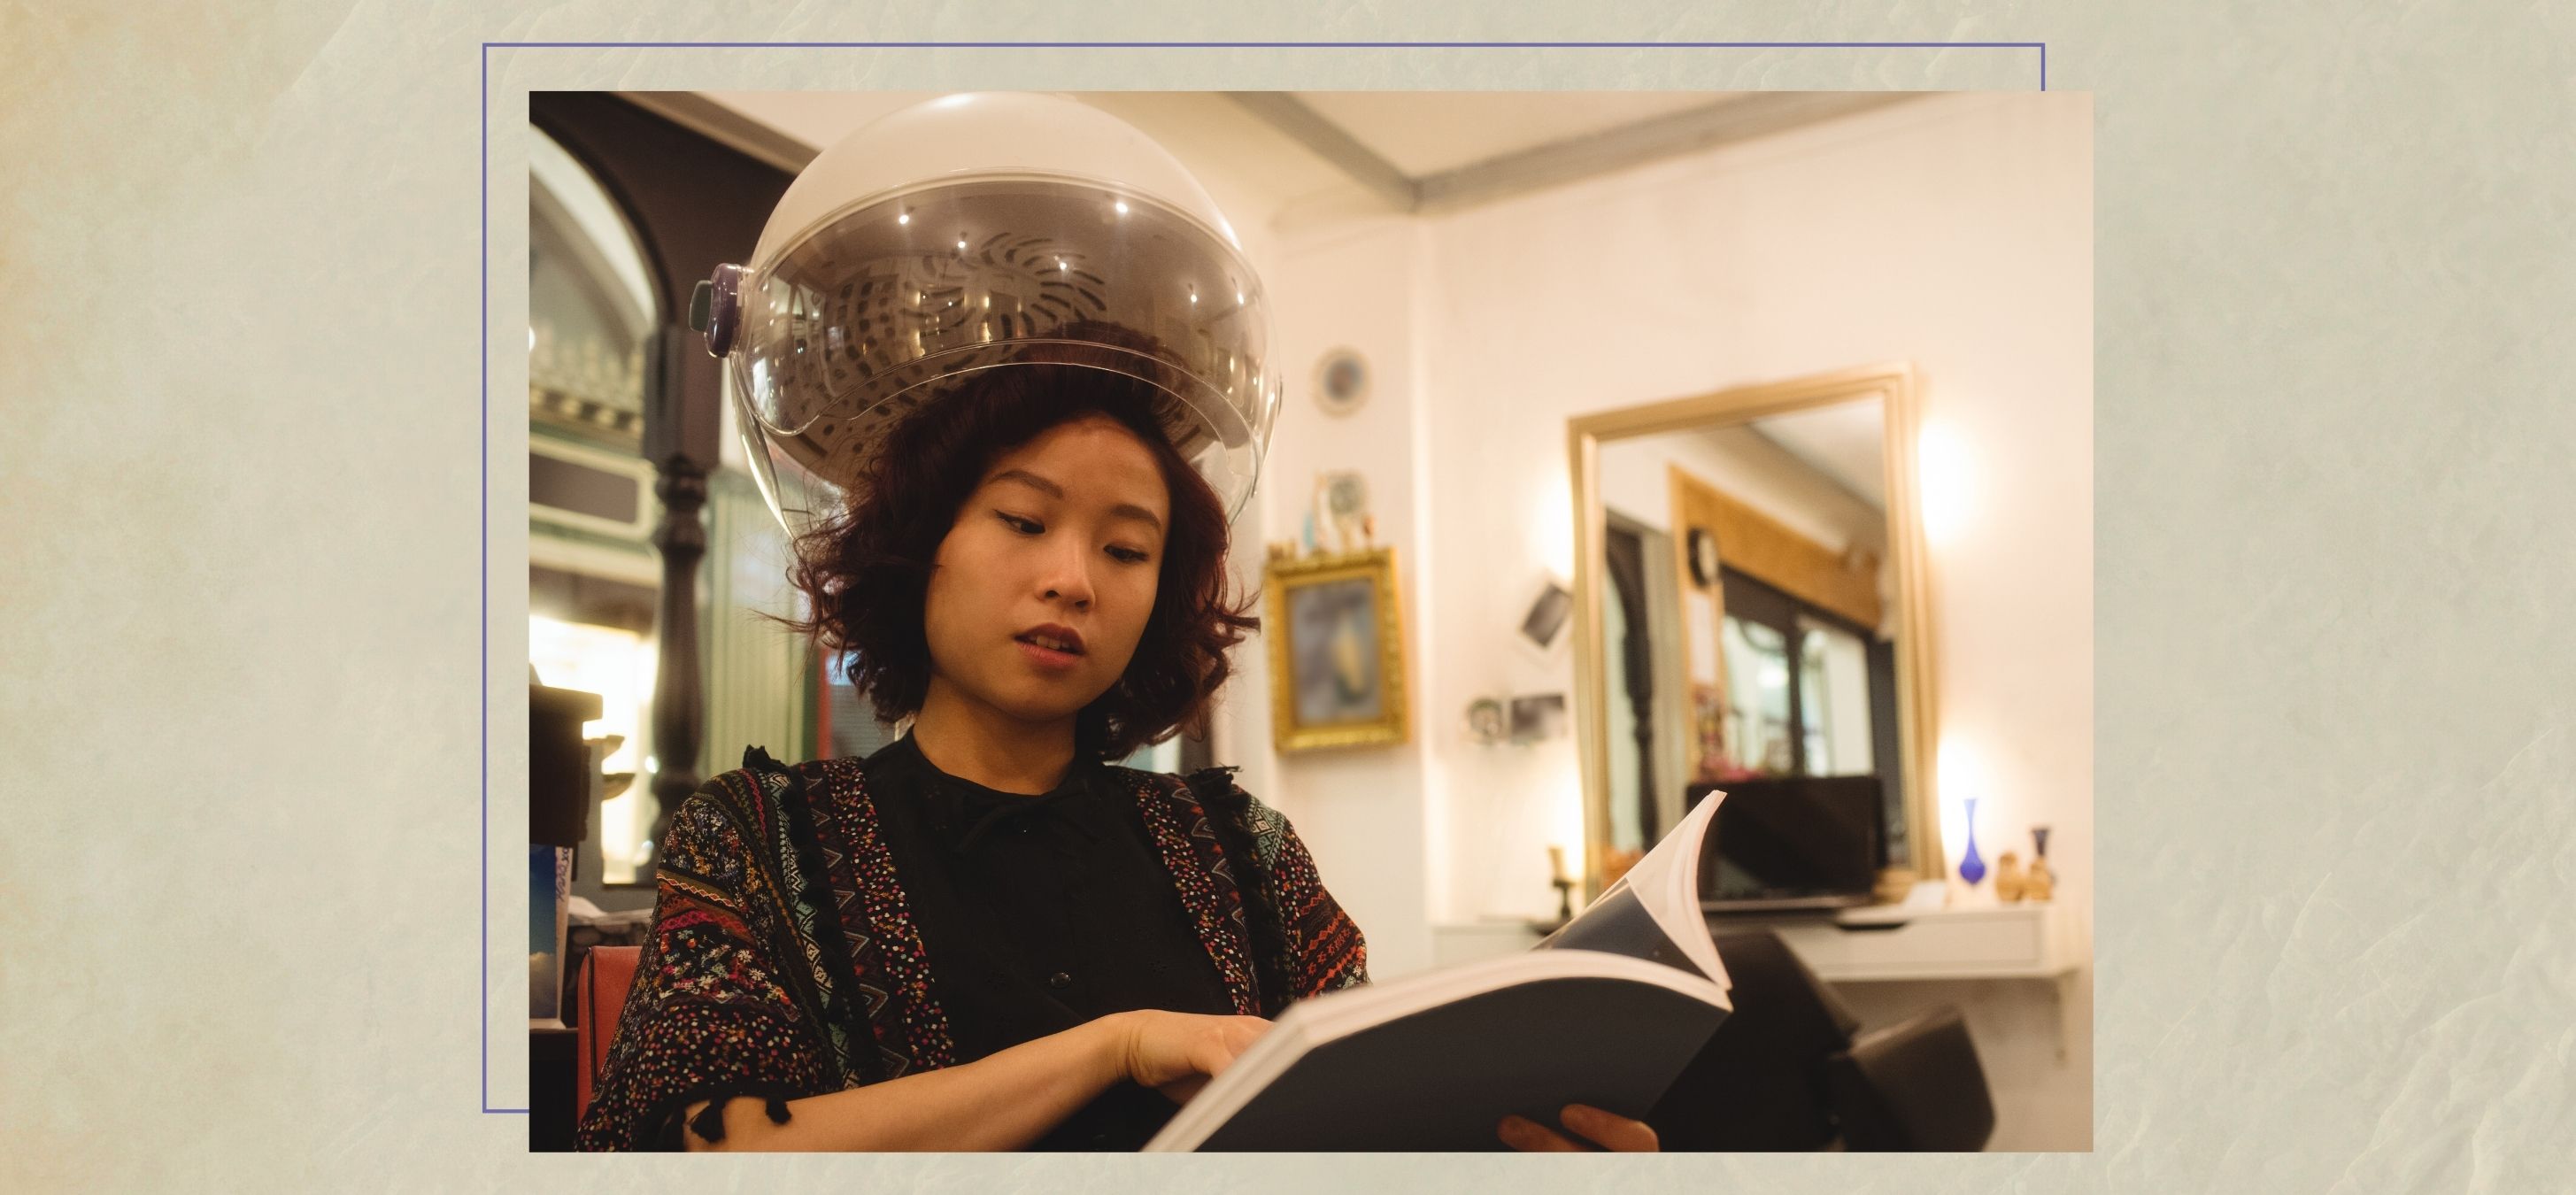
Complete the last processes by drying your hair for a picture-perfect final look. Secure a silk scarf around the lower section of your hair to avoid puffiness and frizz while letting the upper part near the front air dry. Depending on your hair’s texture and thickness, this may take hours to dry out completely. You can use a hooded or blow dryer with a diffuser to quicken up the process.
8. Set Your Finger Waves
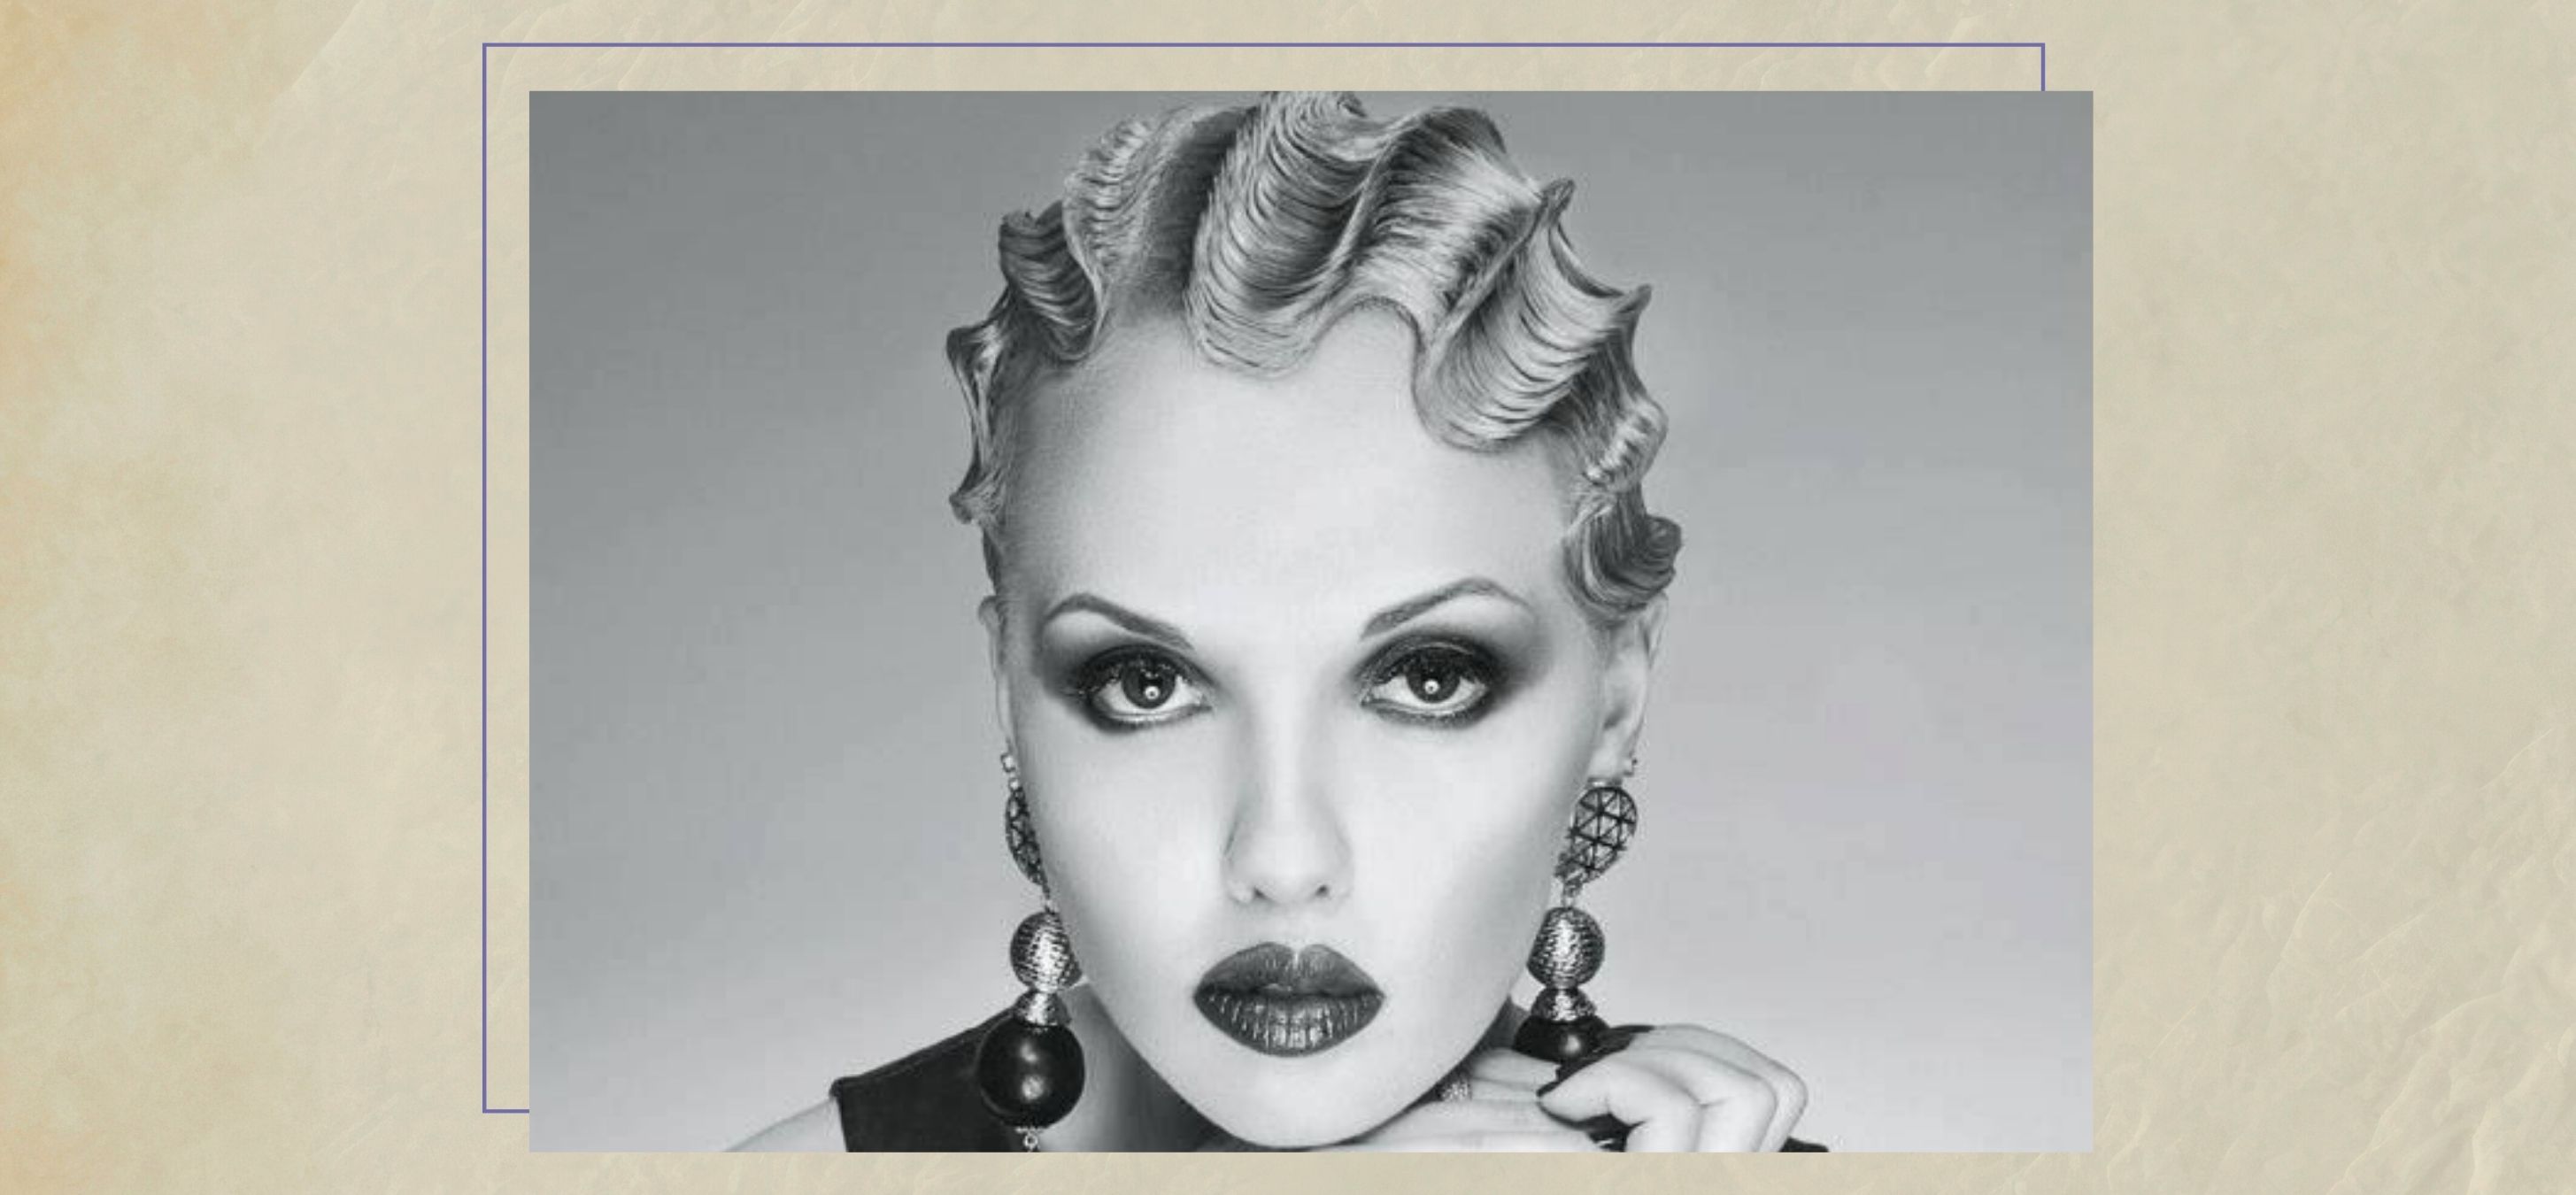
Gently remove the hooded dryer and the clips attached to your finger waves. Run your fingers through your hair as you separate the finger waves to achieve a more defined, distinctive, and clear look. Top it off with a moist hair spray to ensure more grasp and hold for your waves.
The resurgence of finger wave hairstyles has led several celebrities to wear this retro hairstyle in distinctive ways. Rap singers Missy Elliott and Saweetie, actress Zendaya, and pop singers Lizzo and Janelle Monae are a few of the many who have beautifully adopted the vintage style. So go ahead and give your hair a much-deserved makeover with a classic style that is sure to remain in style.


Hello There. I found your weblog the usage of msn. This is a very well written article.
I’ll be sure to bookmark it and return to learn more of your useful information. Thanks for the post.
I’ll definitely return.