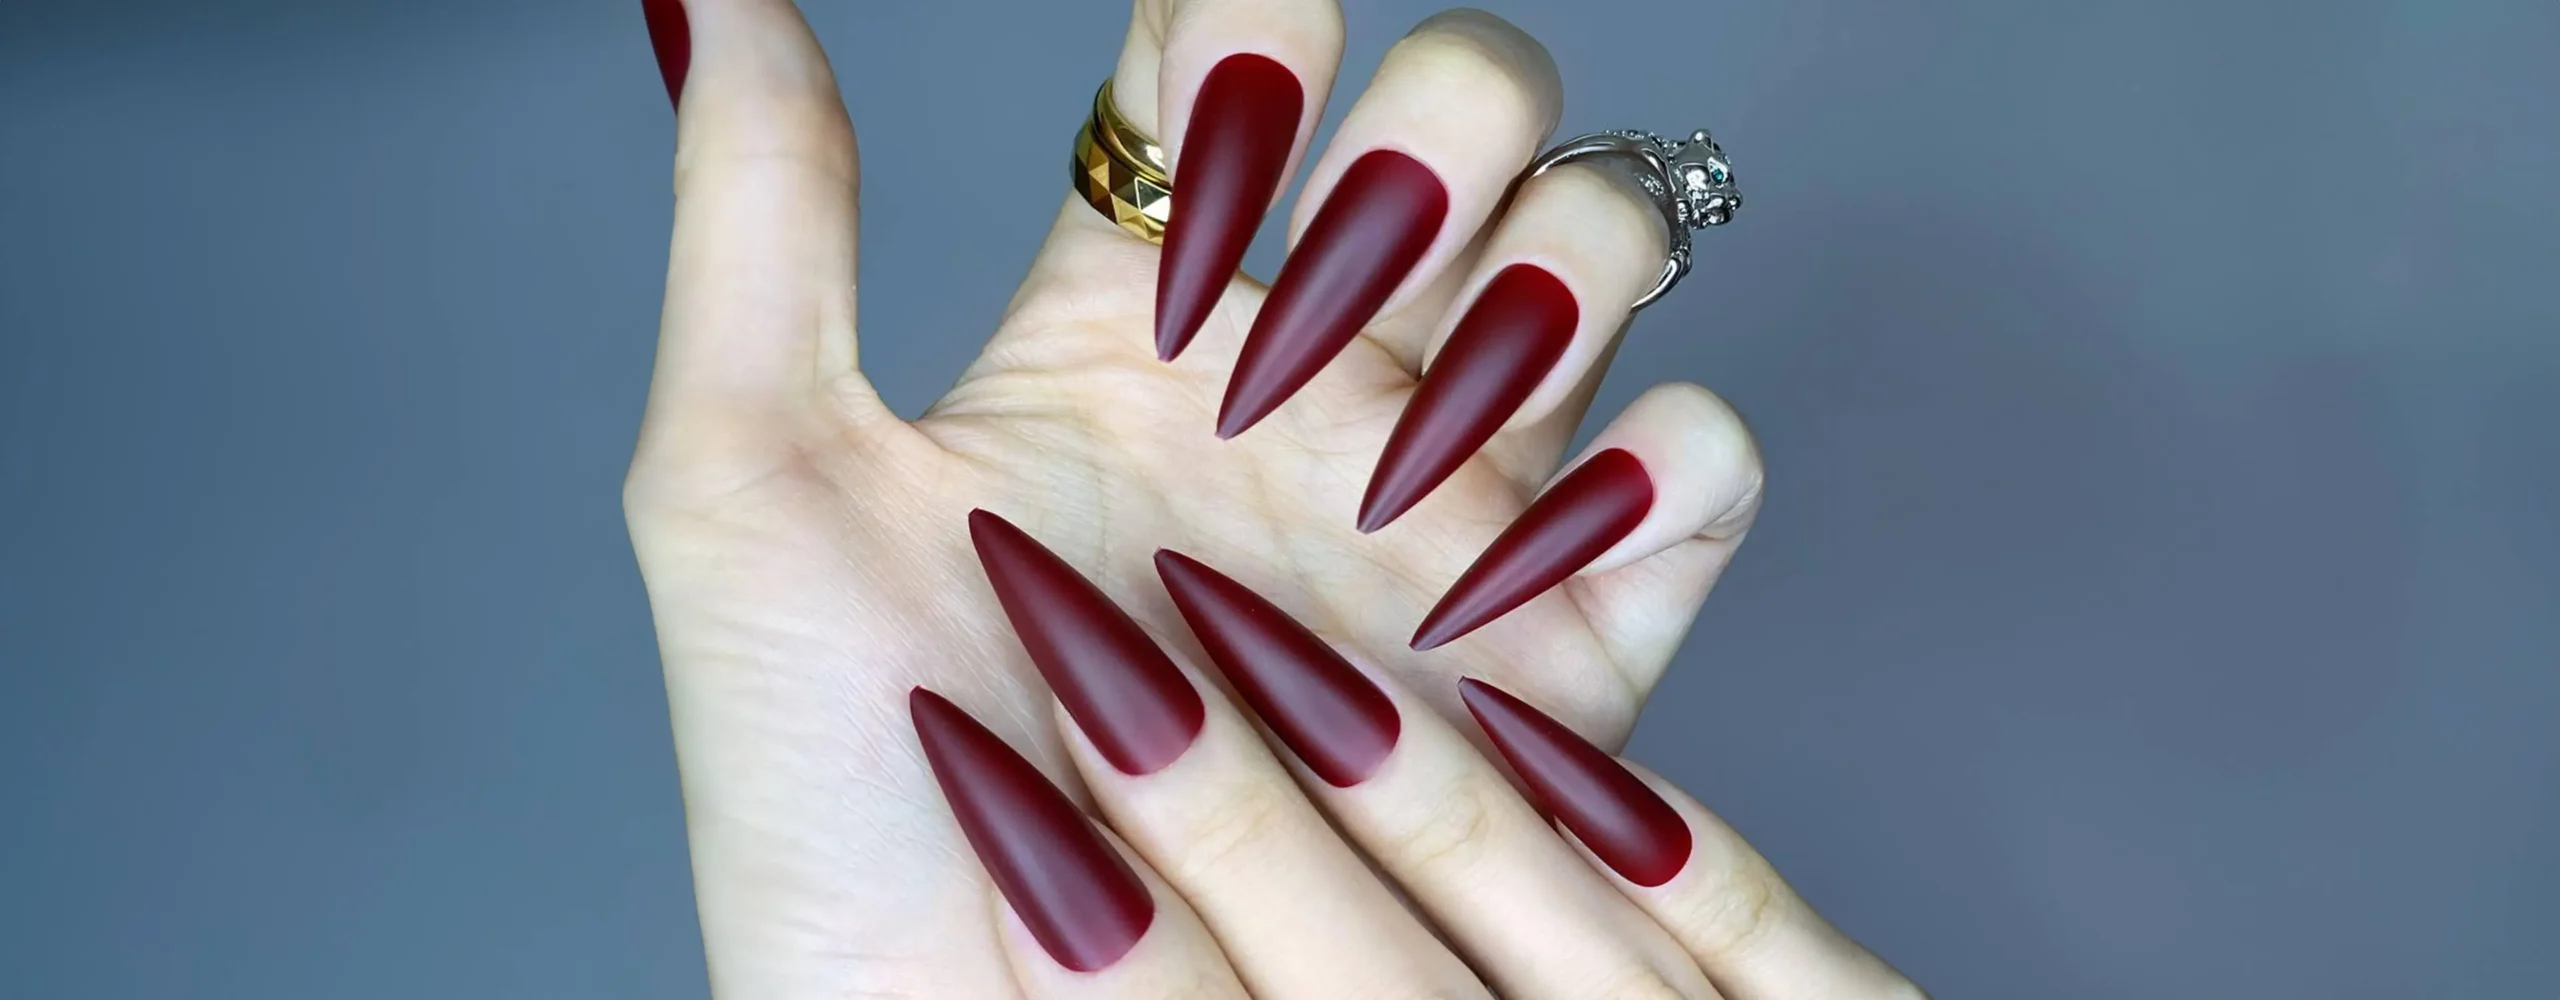
Acrylic nails are those stunning enchantments that instantly transform the look of your hands and make you feel like a glam queen. But a couple of weeks later, life gets busy, and those once-perfect nail designs start to look a little outgrown or don’t match your current vibe anymore. But before you book your next appointment with your nail salon to get them removed, hold on!
We have methods to help you ditch the pricey ordeal and remove your acrylic nails at home instead. Although the safest way to remove your acrylic nails is with the help of a nail tech, desperate times need desperate solutions. So, when time’s tight, or you’re watching your wallet, these methods can help you remove your acrylic nails at home—the expert way!
How to Remove Acrylic Nails at Home with Acetone

When removing acrylic nails at home, you must be extra careful with your tools and techniques, or you might risk damaging your natural nail beds. If this is your first time doing this at home, it is understandable that you might be unsure where to start. But no need to worry; we can help you with that. All you have to do is follow the steps below to remove your acrylic nails at home using acetone easily.
Gather Your Supplies
First things first, get your tools ready. Removing your acrylic nails at home requires you to use proper tools. So, grab some:
- Nail clippers
- Metal or orangewood cuticle pusher
- A nail file with 100 grit
- 100% acetone (Note: Your regular nail polish remover won’t work!)
- A nail buffer
- Foil or nail polish remover clips
- A small bowl
- And some cotton balls
- Cuticle oil and hand lotion
- Trim Your Nails
Start by chipping your acrylic nails down as much as possible using the nail clipper without hurting your natural nail beds. This step will make the removal process much more comfortable and efficient. - File
Once trimmed, use the 100-grit nail file we prepared to gently buff the topcoat of your acrylics to remove the extra shine from your nail. This step also helps the acetone work faster and better while minimizing the damage to your nails. - Soak Your Nails in Acetone
Next, pour acetone into a bowl and soak your nails. Ensure your nails are fully submerged in the acetone, and let them soak for about 20-30 minutes. This step will help loosen the acrylic and make it easier to remove. - Wrap with Foil
After soaking, place small pieces of cotton balls or pads soaked in acetone on top of each nail. Then, wrap each finger with aluminum foil to keep the cotton in place and help the acetone seep into the acrylic. - Gently Scrape off the Remaining Acrylic
After the waiting period, gently remove the foil wraps from your nails. You’ll notice that the acrylic has softened, making it easier to remove. Then, gently push off the softened acrylic with a metal cuticle pusher or orange stick. Be careful not to force it or damage your natural nails. - Protect Your Nails from Future Damage
Once removed, use a buffer to smooth out any rough patches on your natural nails. Then, give your nails a nice trim and shape them to fit your desired style. Apply cuticle oil to nourish your nail beds and moisturize your hands and nails to protect them from damage.
How to Care for Your Nails after Removing the Acrylic Nails

Your acrylics are gone, and your natural nails might be slightly brittle and dry. So, you’ll want to give your nails some TLC. Implementing these steps into your daily nail care routine can replenish your nails’ life.
- Use a cuticle oil or serum to maintain softness and moisture around your nail beds.
- Trim your nails short, shape them, and remember to file in one direction to prevent splitting.
- Apply a nail strengthener daily for a week to prevent breakage and even out any ridges.
- Consider taking a break from using any nail products to allow your nails time to recover, mainly if you observe cracking, splitting, or breakage.
It’s important to note that patience and gentleness are key to removing them at home like an expert. Rushing or using forceful techniques can lead to nail damage and discomfort. After removing the acrylic nails, give your natural nails some TLC by moisturizing them with nail oil or hand cream to regain lost moisture and promote healthy growth.
Whether you’re giving your nails a breather or looking for a new set of acrylics, using the correct method is essential. By following these methods and giving your nails the needed care, you can easily maintain your nail health, avoid any future damage, and prepare to slay the various nail trends without any worry.


Hello! I’ve been following your weblog for a long time now and finally got the courage to go ahead and give you a shout out from Austin Texas! Just wanted to tell you keep up the excellent job!